

The shopping center. My kids love filling the cars up with gas. (P.S. a great thing about this gift is that there are more cars than one kid needs, so he/she can share the mat and cars with siblings. This has worked great for us so far!) The Costco lettering was a challenge. I took a screenshot, sized it how I wanted it, then traced it on paper to make the pattern. The letters were small and difficult to cut out of the felt, but it worked out.

The school. The school by our house is boring so I added a bell for a more classic look. I would have liked to add a flag but never came up with a good way to do it.

Our neighborhood. Our house is white and we have an apple tree. There is a park nearby with a big swing set and sandbox. (I made the swings using chain stitch for the chains and french knots to make the seats.) And, of course, a driveway for parking cars.

The pool. Ours has a nice red slide the kids love to go down. The inner tube is made with french knots.
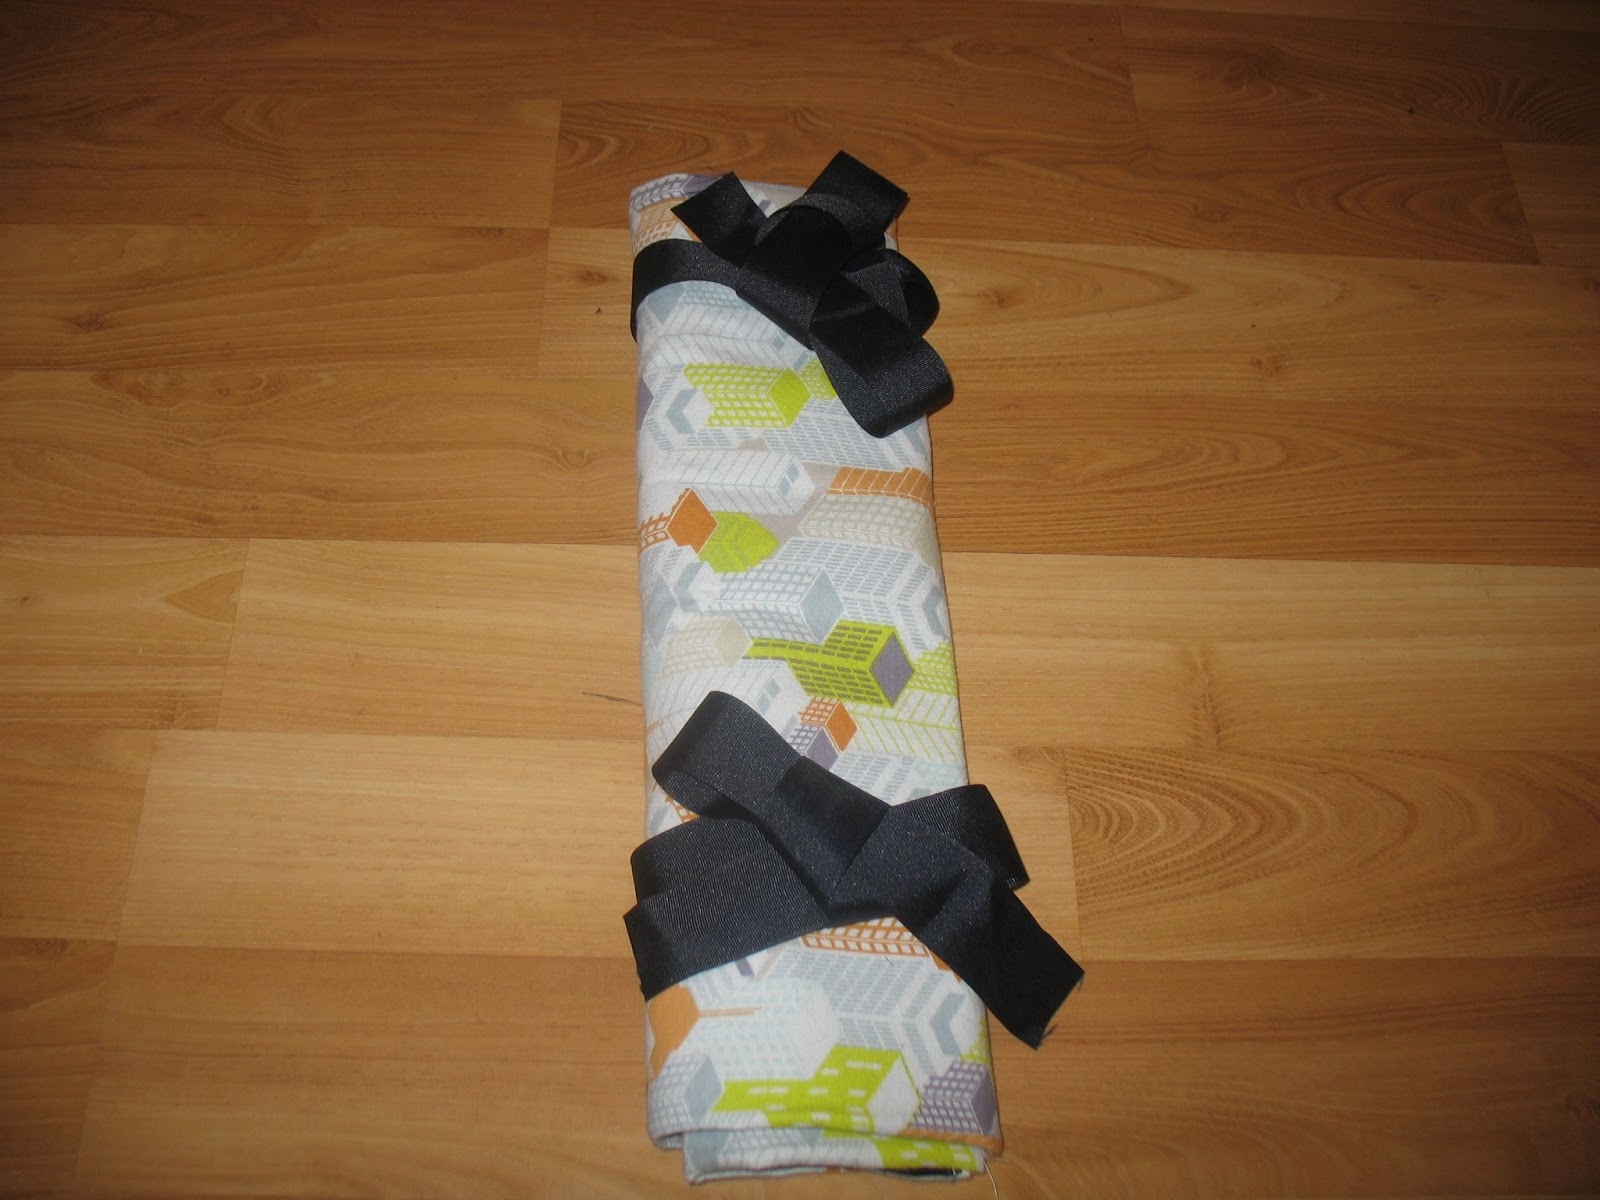
And here it is all rolled up. I love the fabric and ribbon I ended up with. I always smile when I see them.
This is the first time I've looked at a project, pulled various ideas together and customized my own. The process was educational and confidence-boosting. I have only had my sewing machine for one year now and still consider myself a beginner. So give the car mat a try if you feel inclined. It was a lot of fun to make and a great learning experience!
Here's how I did it:
1. Look at what other people have done and think about what you want on your car mat. A pond? A school? Skyscrapers? Mountains?
2. Draw out the design for your mat. I started with the road structure and then drew in building and structure ideas to fill in spaces. Draw it to scale so you know how big to make everything!
3. Pick your base fabrics. My mat is completely felt with a cotton material for the exterior and car pockets. Also pick up some fusible webbing to attach the pieces to each other.
4. Draw your road design on the webbing, attach to your road felt, cut out and follow instructions on the webbing package to attach the road to your base fabric.
5. Repeat with all of your buildings and landscape elements. If you are doing the gas pumps, remember to put on the shoelace hoses first and then sew the pump over them (I didn't). Check out this tutorial for instructions.
6. Add in any embroidery you need to. Embroider the lines on the road using yellow floss.
7. Sew on the car pockets, the exterior fabric, and the ribbon (or velcro) ties. Again, I followed this Fiskars tutorial for this step.
Dimensions you may find helpful if you choose to make one of your own:
Car mat: 18 in x 18 in
Roads: 2 in wide
Car pockets: 3.25 in long x 3 in wide
Here are things I would do differently:
1. Stitch the small pieces (windows and doors) onto the buildings first, then stitch the buildings onto the backing. That way you're not manipulating the whole car mat around the sewing machine for the little bits.
2. Straight stitch the felt onto the project. All the applique work I've ever done has been cotton, so I've always used zigzag to keep the edges from fraying. Apparently that is not a concern with felt, and it would have been so much simpler and I think the little pieces would have gone on straighter with a straight stitch. Also, I glued the Costco lettering on at the very end and realized I probably could have glued lots of the little pieces. I had to tack down one of the C's because the glue didn't set right, but other than that it has held up just fine.
3. Keep embroidery stitches small. Some of my longer stitches have been snagged and pulled out by the cars.
This car mat has seen lots of attention already! I tell myself it was fun to make and I would be pleased with it even if my son wasn't interested, but it does make me smile to see him sit down with his siblings to play with it, then wrap it up to carry it to another part of the house.
Happy sewing!
So awesome!!! It looks fantastic, and I love how you generously gave pointers for other crafty people that may want to make their own.
ReplyDeleteThanks for the measurements!
ReplyDeleteI high appreciate this post. It’s hard to find the good from the bad sometimes, but I think you’ve nailed it! would you mind updating your blog with more information? semi truck decals
ReplyDelete